Getting user location is important for a lot of applications and the most obvious way to do it is using Google Maps API. But what if you don’t want to trouble yourself with getting the API key and paying to use the API?
If that’s the case, I’m gonna show you how you can do it with a Laravel package. These are the steps we’ll take :
- Create a Laravel Project
- Install stevebauman/location package
- Get Location in Laravel
- Show in Google Maps
1. Create a Laravel Project
First things first, of course we have to create a Laravel project with this command. If you want more detail about creating a Laravel project, you can read my other post, but this command is enough.
composer create-project laravel/laravel laravel-get-location2. Install stevebauman/location package
We’ll use stevebauman’s location package (You can check the documentation here). It is very useful to get user location by IP so you don’t have to use Google Maps API, but after I’ve tried it myself (so you don’t have to), there’s a downside to this method which I’ll discuss later below.
To install the package, you just have to run 2 commands (assuming you’re using Laravel 5.5 or above)
composer require stevebauman/location

php artisan vendor:publish --provider="Stevebauman\Location\LocationServiceProvider"
Other tutorials I’ve read told me to register the package class in config/app.php, but since the documentation said we can skip it if we use Laravel 5.5 or above, I did and it worked normally.
But if you’re using below Laravel 5.5, then please add or modify these lines in config/app.php.
'providers' => [
    ....
    ....
    ....

    Stevebauman\Location\LocationServiceProvider::class,

],

'aliases' => [
    ....
    ....
    ....

    'Location' => 'Stevebauman\Location\Facades\Location',

]
3. Get Location in Laravel
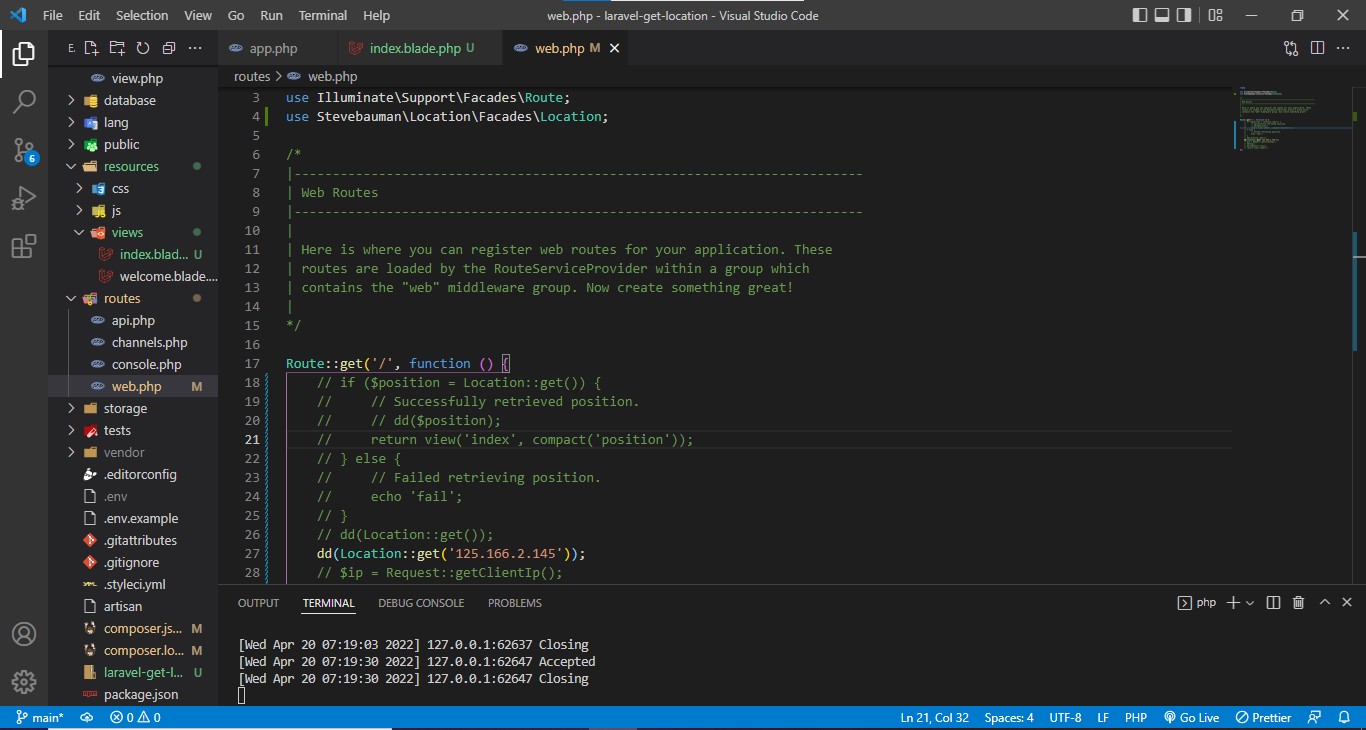
Now that we’ve got the package installed, we’ll use it. Just go to your routes/web.php. (You should consider using controllers, but to keep it short, I’ll code directly in web.php).
Include the package
use Stevebauman\Location\Facades\Location;Then, modify the function for the route
Route::get('/', function () {
    dd(Location::get());
});
As you can see, we use the Location class to get information based on our IP. Then we dump it to check the content. But as you can see, the location is default in the US.

To get your location, you can enter your IP Address (you can check it here) inside the get function.
dd(Location::get('192.168.1.1')); // replace with your IP AddressBut what if you want it to be dynamic, in that case, you request the IP.
dd(Location::get(request()->ip()));But, if you request the IP, be aware that it might not work on your local host because it gets your local IP instead of your public IP. I’ve tried hosting it and it worked and got my public IP.
4. Show in Google Maps
Just getting the coordinates isn’t very useful right, let’s use it and show it on Google Maps. Referencing from this stackoverflow thread, you can go to Google Maps with syntax like this.
https://www.google.com/maps/search/?api=1&query=<lat>,<lng>So, we’ll use it
This is the modified route/web.php
Route::get('/', function () {
    if ($position = Location::get(request()->ip())) {
        return view('index', compact('position'));
    } else {
        echo 'fail';
    }
});
Go ahead and make a new view named index.blade.php and add these codes.
<!DOCTYPE html>
<html lang="en">
<head>
    <meta charset="UTF-8">
    <meta name="viewport" content="width=device-width, initial-scale=1.0">
    <meta http-equiv="X-UA-Compatible" content="ie=edge">
    <title>Test</title>
</head>
<body>
    <p>Country : {{ $position->countryName }}</p>
    <p>Region : {{ $position->regionName }}</p>
    <p>City : {{ $position->cityName }}</p>
    <p>Latitude : {{ $position->latitude }}</p>
    <p>Longitude : {{ $position->longitude }}</p>
    <a href="{{'https://www.google.com/maps/search/?api=1&query='.$position->latitude.','.$position->longitude}}">Open in Maps</a>
</body>
</html>
Then, you can see your location info and direct it to Google Maps!
Downside
As I’ve mentioned, there’s a downside to this method. If you’ve tried it, you’ll notice that the location given by IP address is not so accurate, you can read the reason here. So, it is reliable to a certain level, if you want to get your city name, you can use it, but if you want an accurate position, I don’t recommend it, you can use Google Maps API instead as it has a more accurate way of Geolocation.
Summary
That’s how you can get location with Laravel, it is not the only way of course. You can decide for yourself whether it is right for your project or not.
Now that you understand more about Laravel, if you’re looking for where to host your Laravel App, I recommend Cloudways. It is compatible, fast, reliable and has a specific option for Laravel. There are also tons of resources about Laravel hosting on Cloudways. Go ahead and check it out!
If you’re looking to refresh your PHP skill, you can try Codecademy’s free PHP course. Go ahead and check out the syllabus to see if it fits you. If you’re interested, go and try it for free!
Now, go try out yourself!